Overview of the Event Editor

By
updated over 2 years ago
This tutorial will give you an overview of your Event Editor.
Your Event Editor is the tool you use when creating a new event or modifying an existing one.
First, you need to navigate your way to the Events page:
From here, you can either add a new Event or modify an existing one to access your Event Editor:
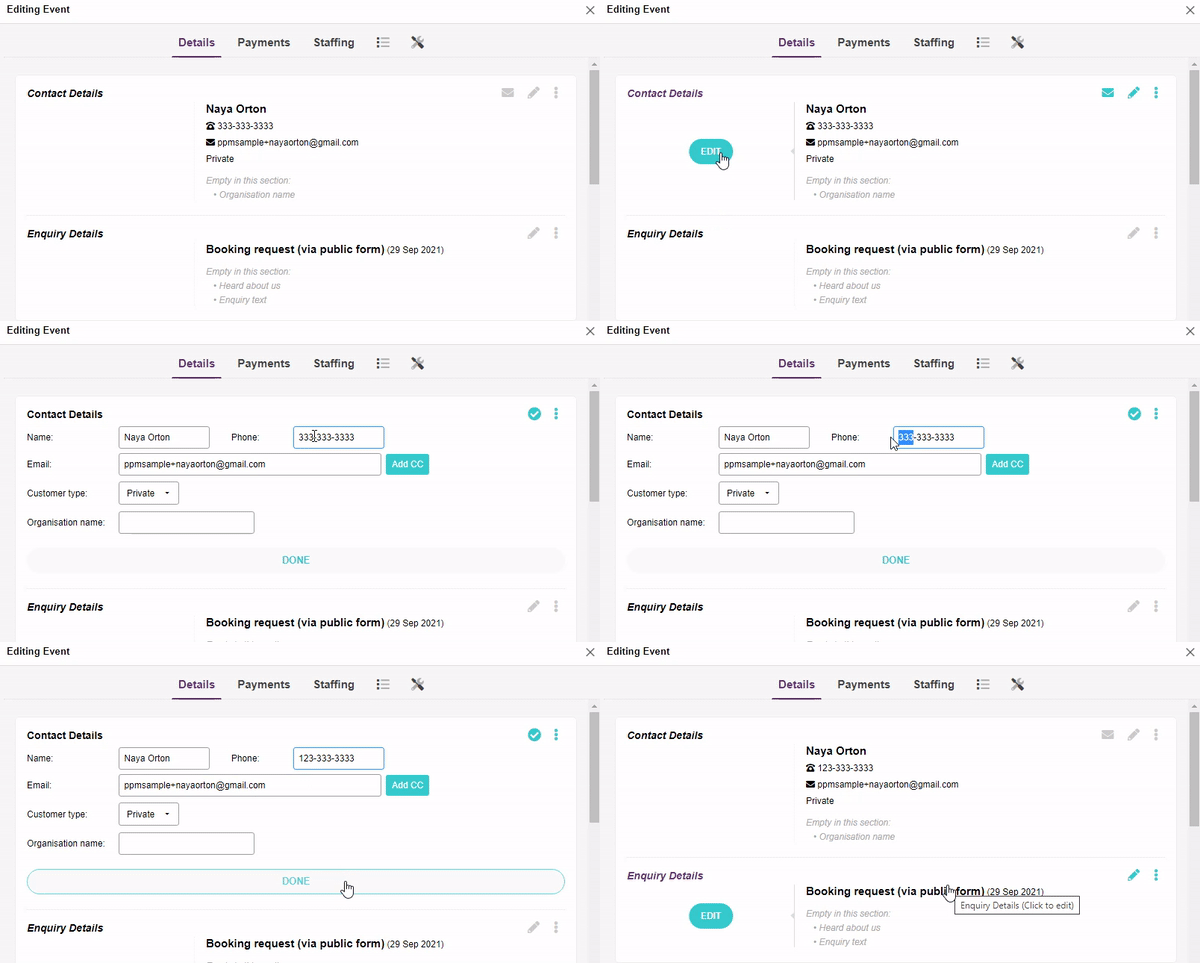
Once you’ve clicked to either add or edit an event, a new window will popup for you to add/edit the details of your event.
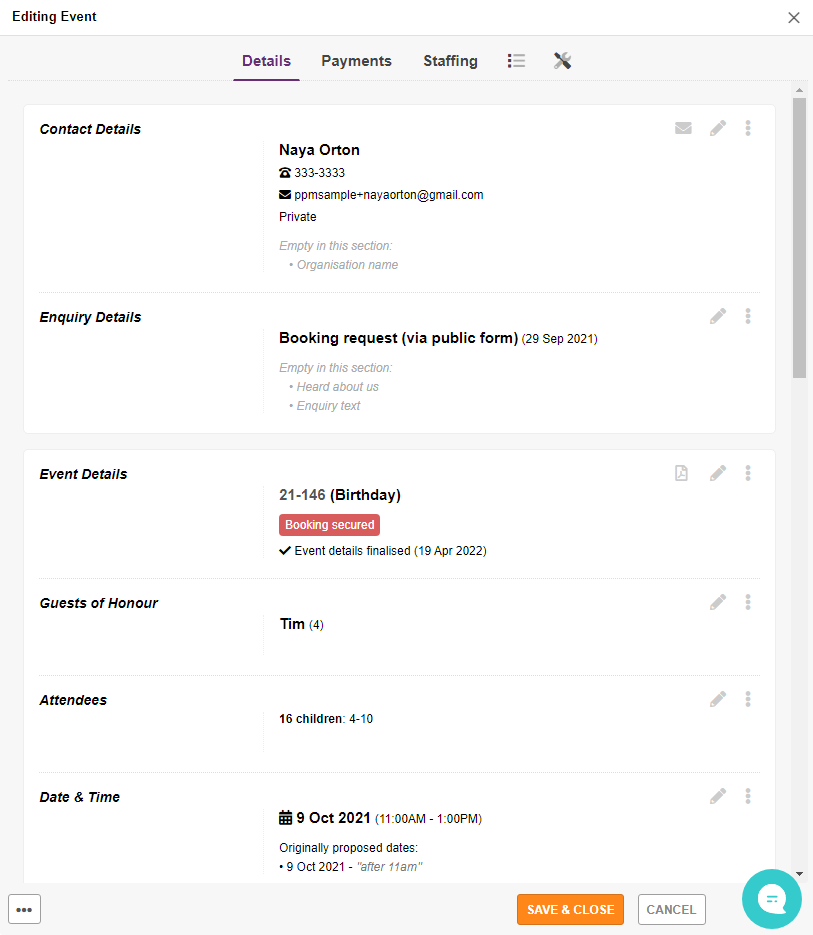
Now, let’s review the options / features in you'll find in your Event window…
Details > Event / Party Info → EVENT STATUS
The Event Status tag is one of the most loved features of PPM by our users.
Using the Event Status tag effectively will:
- Make it easier to review your calendar at a glance
- Allow you to generate meaningful reports from your Event list
- Make it easier for you to follow up with the right people at the right time
To keep this field up-to-date, navigate to Details > Event / Party Info, then scroll down to the “Enquiry Details” section and update the “Event Status” field.
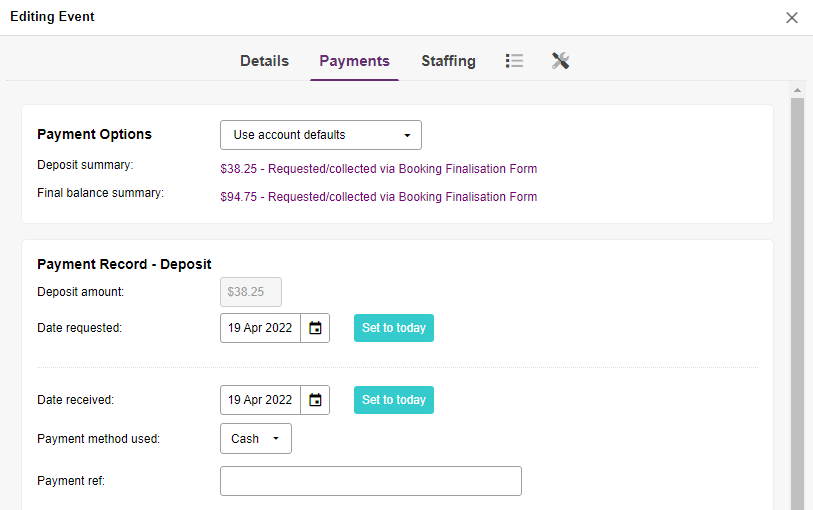
Details > Client Payments
Here you can:
- Set client payment options
- Make note of what date the deposit and balance was requested / received
- What payment method the client used
- And add any other payment notes you’d like to keep
Details > Mailing Address
Naturally this is where you go to add/update the client’s mailing address.
Details > Staffing
This is where you review and add staff for a particular event.
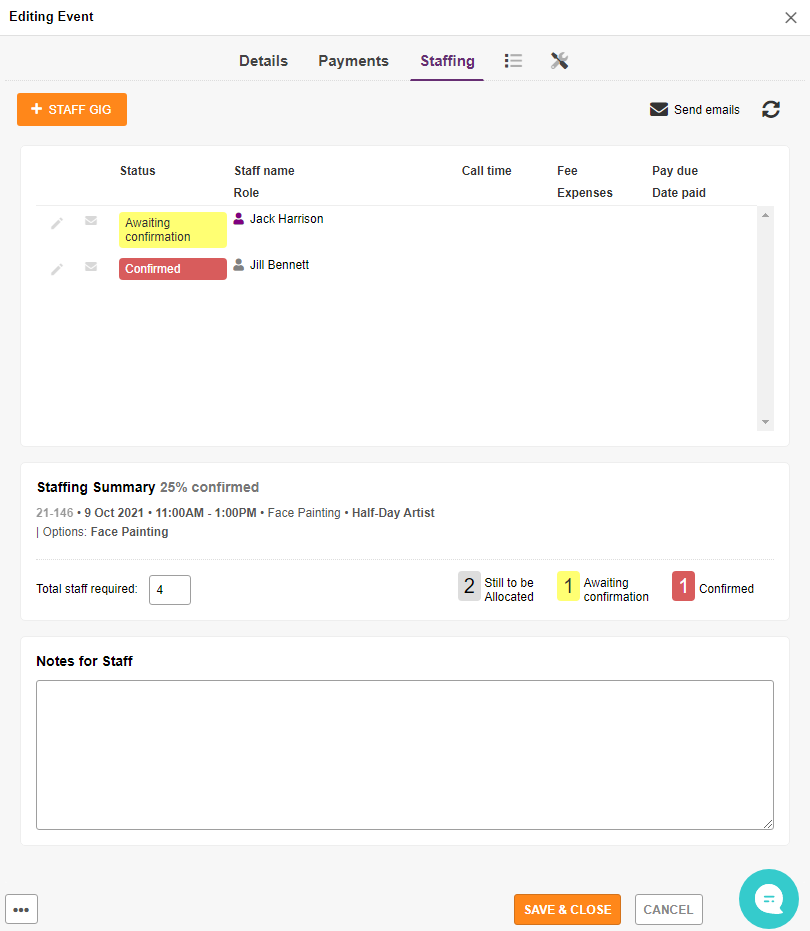
To add a staff, simply click the orange “+ STAFF” button at the top.
A new popup will appear where you can:
- Select the staff
- Assign them a “role”
- Set their status for the event
- Set a “call time”, “gig fee”
- Assign payment due date and track date paid
- And more!
Details > Privacy / Consent
If you’ve set up privacy / consent questions, you can see your client’s responses here.
To configure privacy / consent settings, go to Settings > Business Processes > T&C / Privacy
Checklist
If you’ve set up a Checklist (you can do this at Settings > Business Processes > Booking Checklist), your Checklist Items will be listed here.
You can assign Deadlines. Set Completed dates. And check items off as complete.
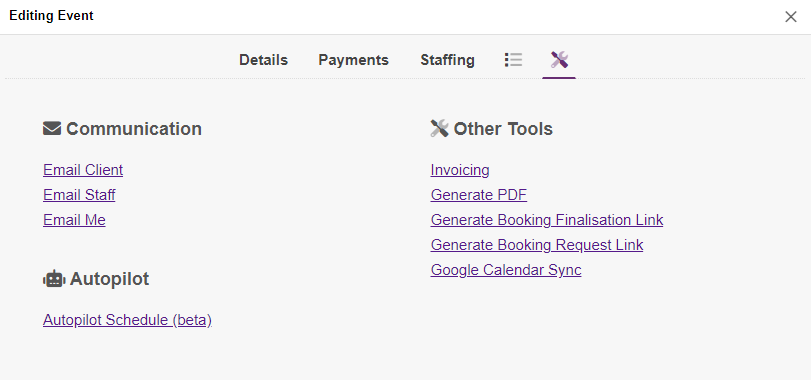
Utilities > Send email
As mentioned above, this utility is used to send emails to your clients, your staff for a particular event or even yourself.
There are a few different tabs within this section:
Email Customer
Sends an email to the customer, including:
- An ad-hoc message or choice of Standard Text
- Booking details
EXCLUDED DATA - Generated email will not disclose:
- Private admin notes
- Notes and payment details for host / entertainer (from Staffing tab)
Email staff
Sends an email to the staff member assigned as the host / entertainer for this booking, including:
- An ad-hoc message or choice of Standard Text
- Booking details
- Special notes for host and fee / payment amount (from Staffing tab)
EXCLUDED DATA - Generated email will not disclose:
- Private admin notes
- The full price of the booking and deposit amount
HINT: The email's reply-to address is set to your address, providing a convenient way for the host / entertainer to respond to you.
Email me
Sends an email to yourself, including:
- An ad-hoc message or choice of Standard Text
- Booking details
EXCLUDED DATA - Generated email will not disclose:
- Private admin notes
- Notes and payment details for host / entertainer (from Staffing tab)
HINT: The email's reply-to address is set to that of the customer, providing a convenient way to forward on the email.
PRO TIP: Save yourself from the time and hassle of typing the same email over and over again. Standard Texts are here to help save the day! You can configure these at Settings > Business Processes > Standard Texts
Utilities > Send invoice
As mentioned above, this utility is used to send your clients a formal invoice.
This tool sends an email to the customer, including:
- Invoice as PDF attachment
- An ad-hoc message or choice of Standard Text
- Booking details
PDF invoice will include:
- Your company name and logo
- Your contact details and address
- Your client's email address
- Service / package name
- Additional notes
Payment summary and amount due is auto-calculated according to pricing matrix (found in Details > Event / Party Info) and current payment record (found in Details > Client payments).
Utilities > Generate PDF
Creates a printable PDF that you can take with you on the day of the event or keep for your records, including:
- An ad-hoc message or choice of Standard Text
- Booking details
- Private admin notes
Utilities > ‘Booking Request’ Link
Generates a web link to a form which allows your client to add additional information to this enquiry, progressing it into a full 'Booking Request'. Once completed by the customer, the following automated actions will occur:
- The client will receive a copy of their Booking Request via email.
- You will be sent notification via email
Utilities > ‘Booking Finalisation’ Link
Generates a web link to a form which allows your client to review the booking and fill in any required missing details.
Once completed by the customer, the following automated actions will occur:
- A deposit payment request will be presented to the customer on screen, including your recorded bank details and booking reference to be used.
- The booking will be set to 'Awaiting deposit' status.
- 'Date finalised' will be set below.
- You will be sent notification via email
Email Log
Here you'll find a log of all emails PPM has sent to this client on your behalf regarding this particular event.
Google Sync
If you’ve set up your Google Calendar integration (found at Settings > Account Settings > Integration), here you’ll see confirmation of when this event was last synced with your Google Calendar.